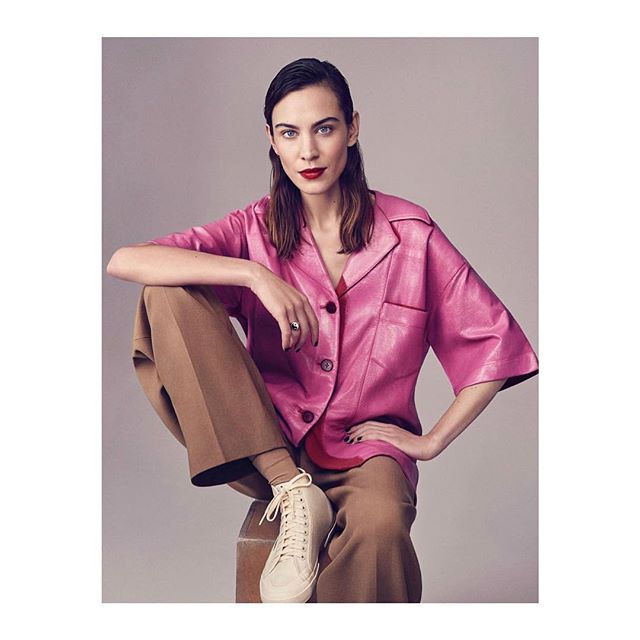
#1 How to get Alexa Chung’s sleek side sweep
A red carpet go-to, Alexa regularly swaps her signature messy waves for a sleek side part for formal occasions. As a slightly more androgynous look, this style is perfect for off-setting super feminine dresses or adding a bold finish to a softer outfit. For extra drama, go for a wet look effect by simply styling wet hair or doubling down on gel.
Start by giving your hair a good brush so it is all smooth.
Using a comb, part your hair to the side. As a guide, your parting should be in line with the highest point of your brow arch, giving you that dramatic old Hollywood side sweep. If your hair needs a little help settling into this new parting, gentle blast it with a hairdryer as the heat will help it settle in the new position.
Using a curling wand, loosely curl your hair, focusing mainly on the section below your ears. This adds a little texture and movement to stop your hair looking flat.
Once this is done, spray hairspray onto a brush and brush your hair from root to tip, brushing the curls out to a really gentle wave.
Tightly tuck each side behind your ears and continue to brush through with hairspray until it is all smooth. To tame flyaways and baby hairs, the best tool is a toothbrush! Spray with plenty of hairspray and firmly brush their hair around your face down, keeping it pristine and tidy around your face and ears.
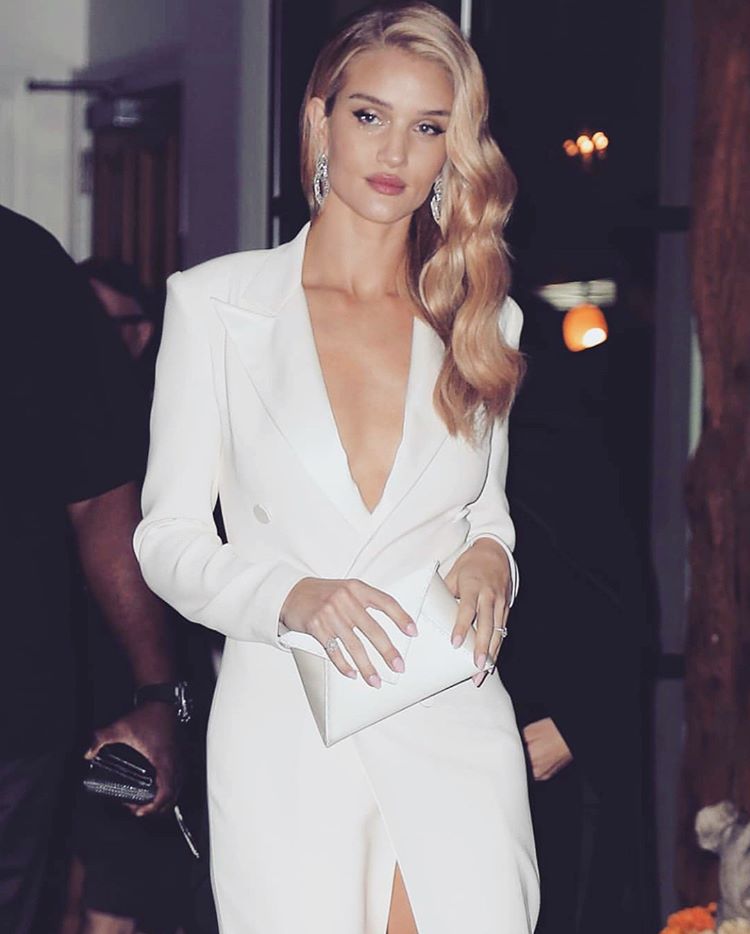
#2 How to get Rosie Huntington-Whiteley’s Hollywood Glamour curls
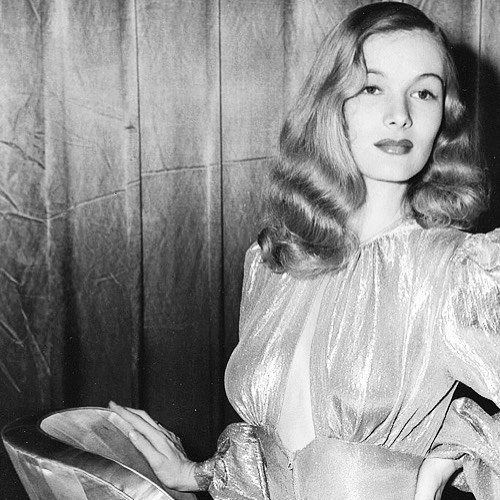
As a nod to the late, great Veronica Lake, many stars opt for classic Hollywood curls at any chance they can. But no one does it quite like Rosie HW. Almost unbelievably shiny and bouncy, this truly is the Christmas party hair of dreams. And we’re here to tell you how to achieve it.
For straight hair-
When your hair is wet, part it in a deep side parting, again following the highest point of your eyebrow. Tuck the lower side behind your ear to help it dry smooth and fall in the right shape.
Start by giving your hair a thorough blow dry, focussing on getting volume and bounce by keeping the hair elevated and using a barrel brush to begin to shape it so it curves around your face.
Once it’s all dried, get your curling wand. Ideally, you want quite a wide barrel to create big waves rather than tight curls. Begin at the front of your hair, curling a section at a time and pinning the curl to your hair rather than letting it fall. To create a uniformed wave like Veronica Lake, curl the hair on each side toward the back of your head, working in the same direction on either side.
Once your whole head is done, allow the curls to cool on your hair for a little while. This will help the curls keep their shape and avoid frizz.
Unpin the curls and use a brush with some hair spray on to gently brush the curls out and unlock the bounce.
For curly hair-
Create a deep side parting as above and run a little bit of the Grow Gorgeous Curl Defining Butter through the lengths.
Using a barrel brush, start to blow-dry the hair using tension to shape the hair. Use the brush to curl the hair around then hold and pin. Thicker curly hair is shaped far easier, so you may find you don’t even need to use a curler.
Once the whole head is done, unpin the curls and brush gently. If you want more definition, use a curler to reinforce the girls along your hairline to shape your face.
How To: The Perfect Curly Blow-Dry
Wish you had salon-style hair everyday? We're here to show you how to do a curly blow-dry in the comfort of your own home...
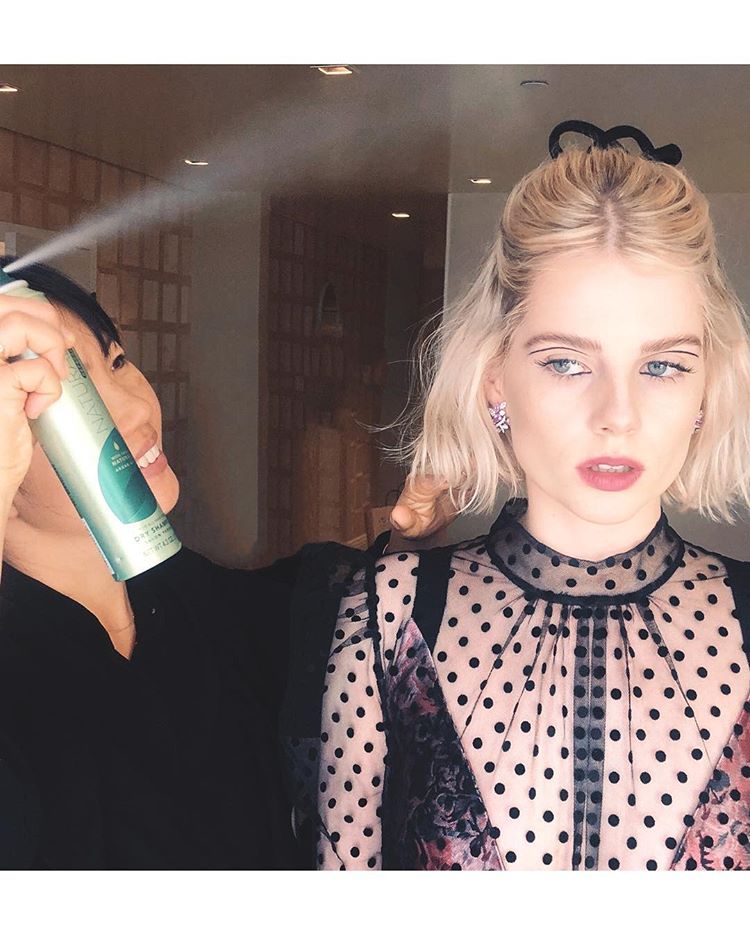
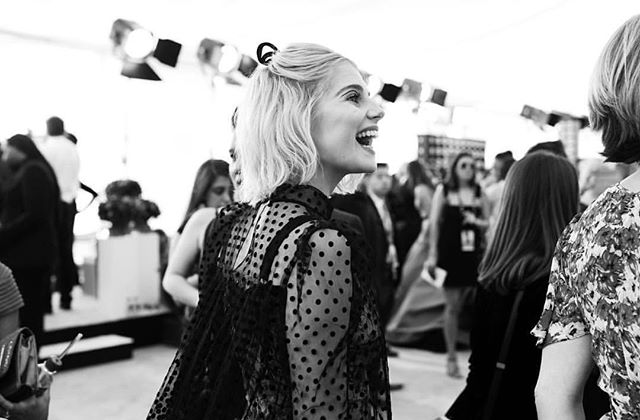
#3 How to create Lucy Boynton’s 60s subtle beehive
If like us you’ve been crushing on Lucy Boynton’s modern 60s style, a subtle beehive will be front and centre on your Christmas party hair mood board. A perfectly quirky look and super on-trend as this season’s vintage revival shows no sign of slowing down. Surprisingly easy to execute, this is a perfect last-minute-invite option.
Curl your hair if you wish, and then spray some hairspray or a sea salt spray onto your roots and use your hands to create texture.
Started at the crown of your head begin back-combing. Lift sections of the hair up at a 90-degree angle, then use a comb to compact the hair down. For the best results with no damage to the hair, put your comb in straight and simple brush down, avoid brushing up and down as this can cause breakage.
Continue this till the top back area of your hair is all backcombed, creating a v-shaped parting as the front part of your hair is left neat.
Gather up the area you want to be pulled back and gentle comb over the top section to smooth over the top of your baby bouffant.
Tie this section back with a ribbon, or scrunchie or accessory of your choice in either a pony hair or bun. Then using your hands, mess it up a little by pulling strands of hair forward to frame your face. You don’t want it to be too neat.
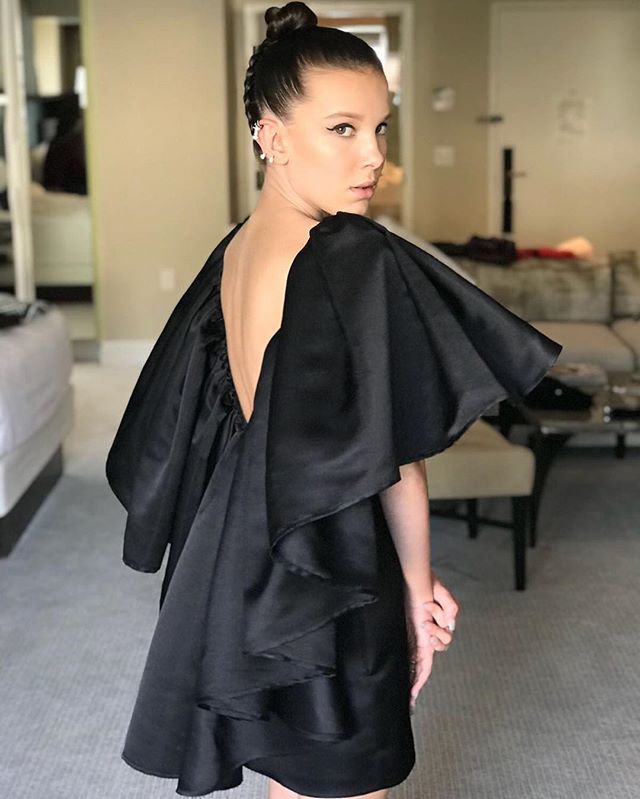
#4 How to create Millie Bobby Brown’s plaited bun
Saving the trickiest till last, this look will definitely take some practice but will be 100% worth it. Super-sleek with a little party in the back, this is the perfect hairstyle to put all the attention on your makeup or paired with a backless dress. If you’re struggling, call on your friends to help you create this beautiful bun.
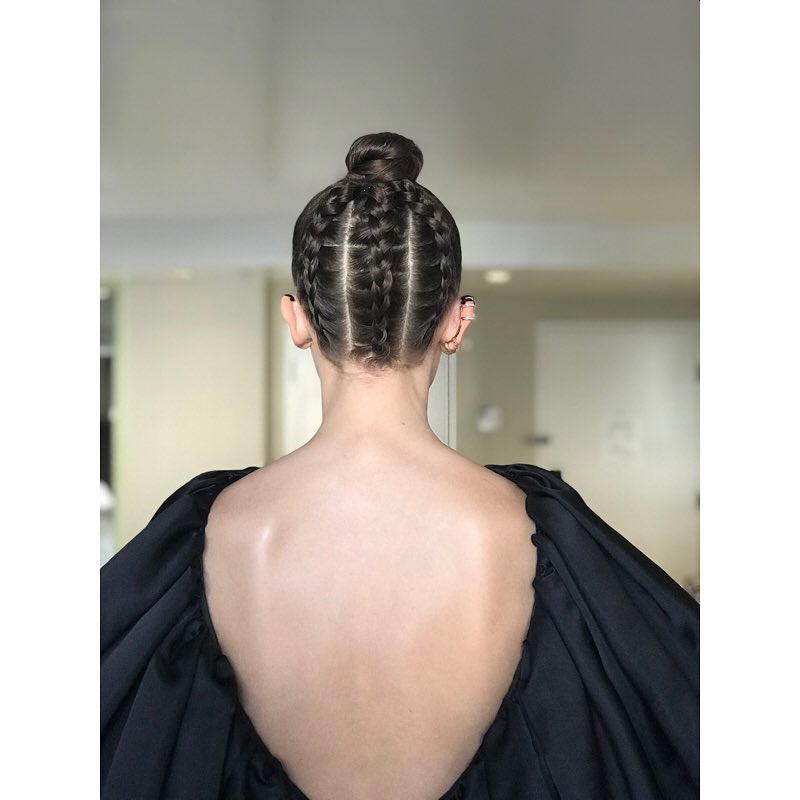
Section your hair off into 4 parts; the main front part, and then 3 smaller sections in the back to make up the plaits. Use clips or hair bobbles to keep these separate while you work on each one.
For the plaits, start at the nape of your neck using a classic french braid, gradually picking up more and more hair to keep it tight to your head. Once you reach the top, tie with a bobble to make sure the tight plait doesn’t go anywhere.
Repeat this for all 3 of the sections then tie them together at the top.
Using a brush with plenty of hairspray on, brush the front section of your hair up to meet the plaits. Keep this section sleek with no bumps, using the brush to keep it smooth. Tie the front section and plaits together into one ponytail on top of your head.
To create the bun, twist this ponytail round into a tight spiral, then twist around itself into a doughnut shape like a classic ballerina bun. Secure with plenty of bobby pins and finish with some hairspray.
If you need to slick down baby hairs or flyaways, use the toothbrush trick from before.
Written by Lucy Harbron
Related Articles